June 30, 2013

How to Style American Flag Shorts


Hi Loves! Today's post is how I style the American flag shorts I showed how to make here. I came up with an outfit to show y'all that I think would be perfect to wear on the Fourth of July. If you want to see how I wear these shorts, keep reading!

I wore a white tank top under my t-shirt because the shirt is a little sheer. I tucked just the front of it into my shorts to add a little shape.

I wore two glitzy silver bracelets to add some shine. The top one is a stretchy bracelet, and the bottom one is a chain with a clasp. They're easy arm candy to slip on and look so cute next to your shorts!

These red glasses I'm wearing aren't real, they're actually just filled with a plastic to look real, I guess. I have 20/20 vision so these just add some sophistication to my super fun outfit.
These shoes I'm wearing are faux red Toms, which I'm going to do another DIY post (I'm obsessed with DIY, sorry) on how I painted them. Yes, painted them.

Buy a white T-shirt here
Buy red Toms here
Buy faux red glasses here
Buy American flag shorts here
Buy a silver bracelet here

Thanks so much for reading! I hope you all have a fun and safe Fourth Of July, and take lots of pictures! If you make these shorts, please send me a pic on twitter @giadalovesya or on Instagram @giadalovesyou Love you all!

                                                                         xoxo, Giada

June 22, 2013

DIY Cut-Off Shorts

Hi loves! Today's DIY will teach you how to take a pair of jeans and cut them into shorts. I actually just cat a pair of my own shorts (from Goodwill) into shorter ones, but the same method applies to pants as well. This is a simple and quick DIY. Let's get started!
                
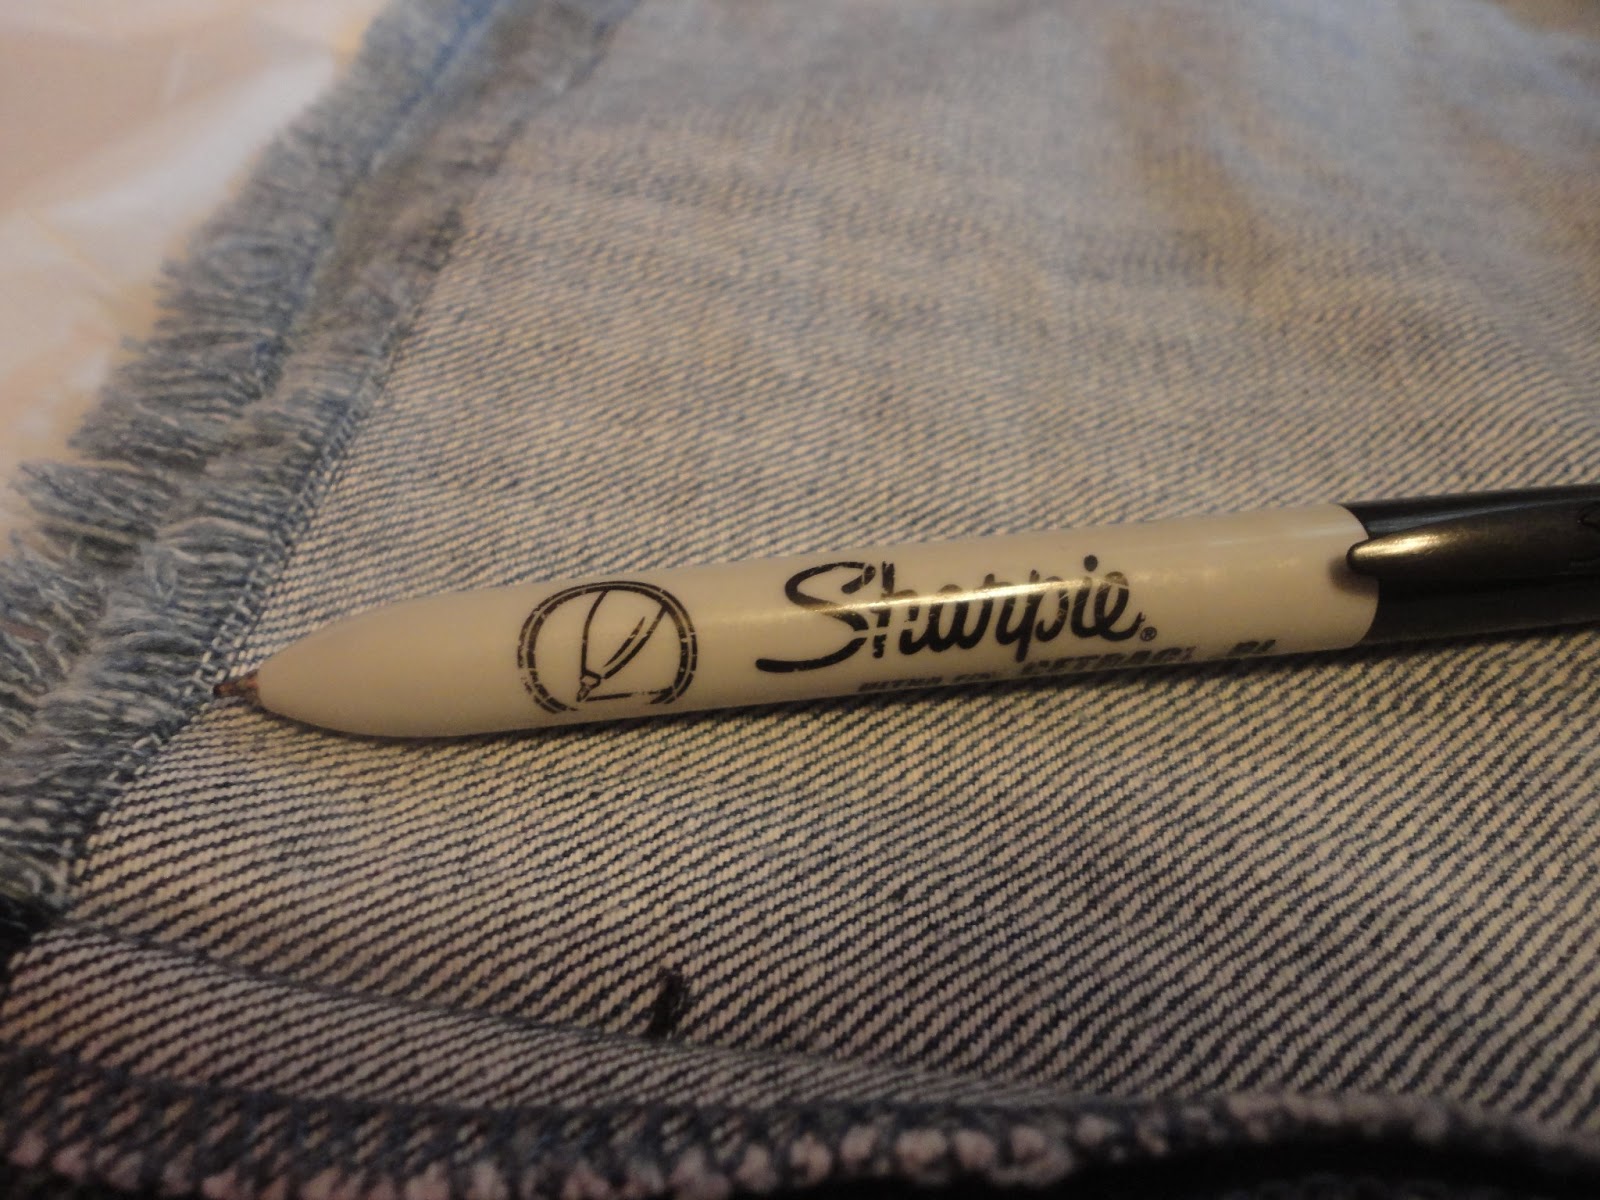
1)First you'll want to try on your jeans/article of clothing to see where you want to cut it. I decided to cut mine about an inch or two above the original hemline, just to freshen up the style. The shorts had this weird half inch or so of fringe( extra shredded denim) at the bottom which made wearing the shorts harder. Anyway, you'll want to mark where you'll be cutting your shorts with a pen or marker (I used a thin Sharpie).

Mark just one side, so you don't have to worry about getting it even.

2)Once you've marked your shorts, take them off, turn them inside out, and lay them down . I just laid mine on the ground, but any surface will probably work. Lay the side you marked flat, and make sure all the folds in the fabric line up with where you're going to cut.

3)The next step is, cutting your shorts, of course! I just used my mom's kitchen scissors, but fabric scissors should work as well. Cut in as straight a line as possible. Maybe even a rotary cutter would work as well? I would definitely recommend only cutting one side of the clothing at a time, to ensure even sides and crisp edges. 

4)Once you are done with your one side cut, try your shorts on. Make sure you're comfortable with the for and everything. If they're still too long, mark the cut side at a shorter place and repeat step 3.

5) Once you're satisfied with your one side, turn the shorts inside out, this part is a but tricky, but basically just line up the seam along the inside, near the crotch area, mark the uncut side at the same length of the cut side. Make sure everything is even, and then repeat step 3).

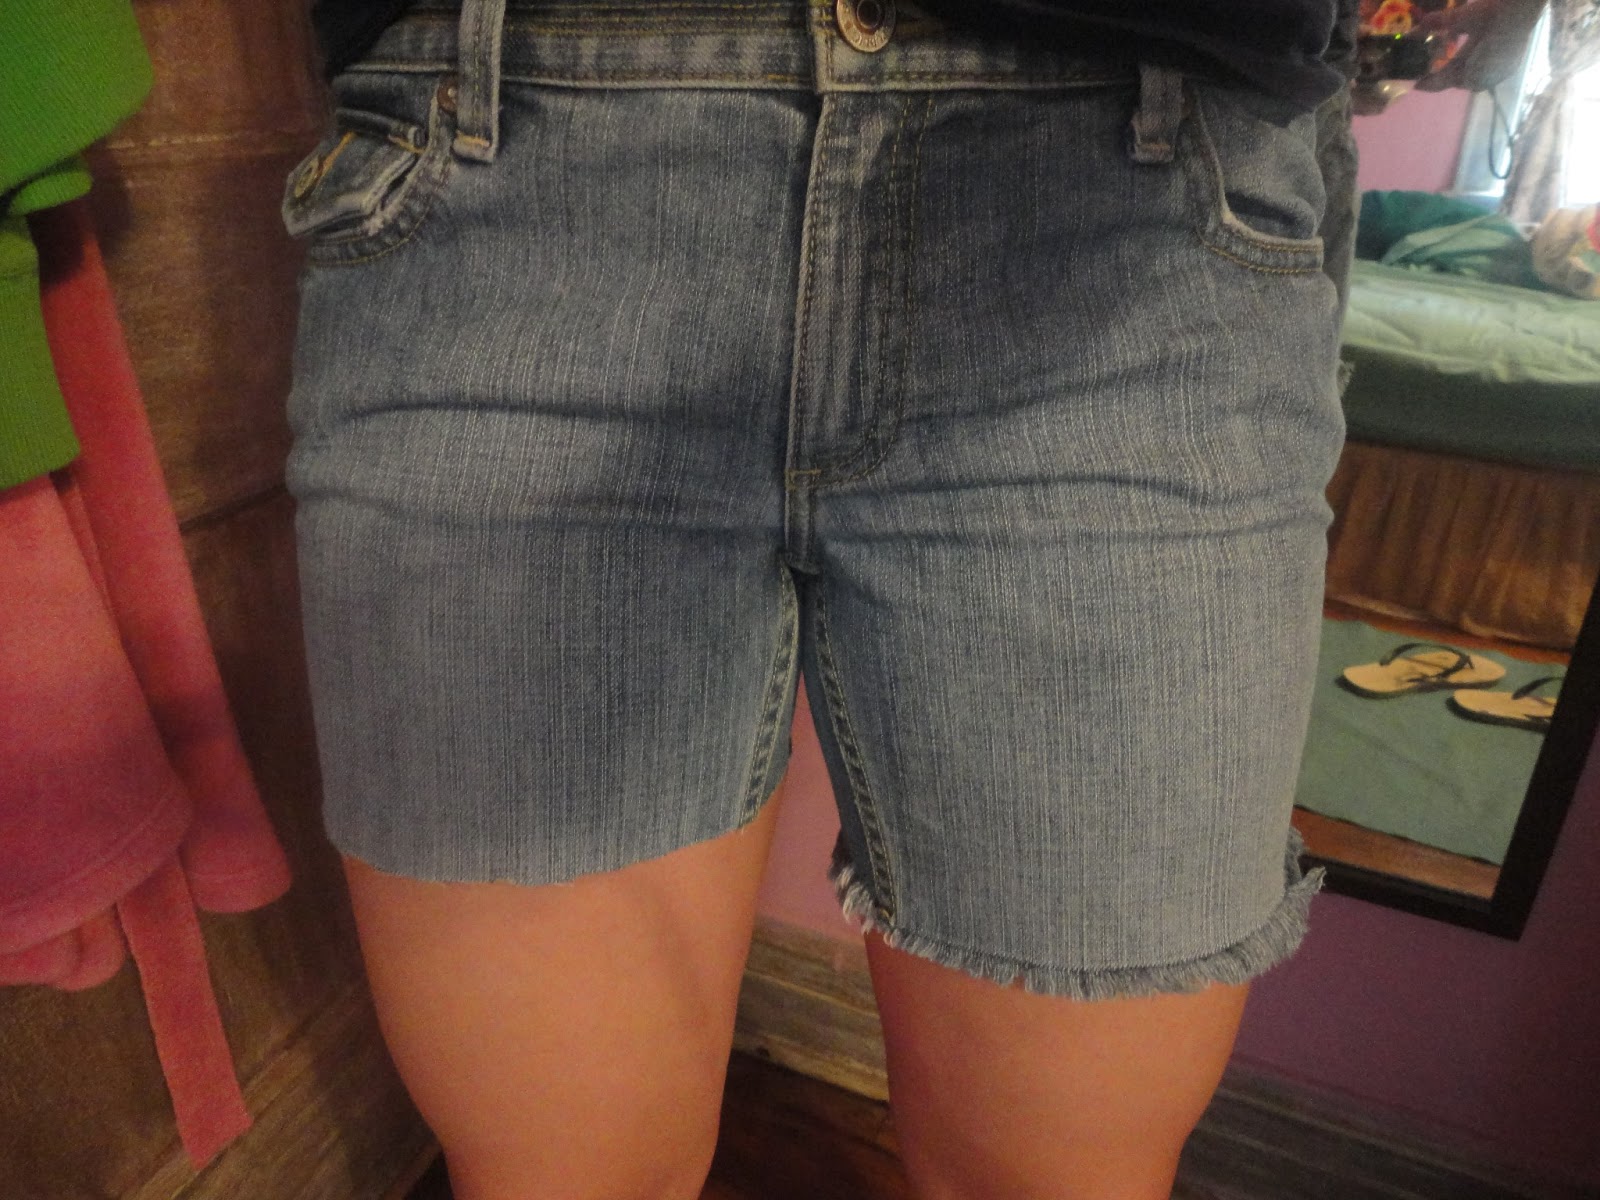
6) Turn your shorts right side out, try them on, make sure they fit how you want them too and come up to where you need them, and that everything is cut correctly. 

7) Now you can distress your shorts if you want to, an any way you want to! AndreasChoice has a video on YouTube of how she distresses her shorts, but you can also just use sand paper or a nail file to add some old feel to your shorts. In this video she begins distressing her shorts at 2:36

7) You're done!

TIP:
If you accidentally cut your shorts too short, and you can't wear them because of a dress code, you can use lace! Come back in a few weeks to see how I fix too-short shorts! 

 
Thanks so much for reading this easy DIY! I actually am using these cut shorts for another DIY project coming soon, so check back in the next couple of days and look for the next project. Hint: It's made in the USA. :)

P.S. Please excuse the weird font/bolding/crappy pictures oops.
 
Thanks for reading! Let me know in a comment below if you're going to try this DIY, or tweet me @giadalovesya 

                                                                                    xoxo, Giada

June 19, 2013

Fashion Affair: Isabel Marant for H&M


H&M has announced a new collection with French designer Isabel Marant. Scheduled to be released on November 6, 2013, a variety of different items for men, women, and teens will be made. She will also be designing accessories! H&M has a rich history of guest-designer collaborations. In 2004, H&M joined with Karl Lagerfeld, current creative director of Chanel. The collection was incredibly successful and sold out in a matter of hours. In 2007, the company created a line with Italian designer Roberta Cavalli. It sold out very quickly as well. Recently, in 2011, Versace designed a collection for H&M. The line was insanely popular, even purchased and worn by many celebrities.
 
All in all, nearly every collaboration so far has greatly benefitted both H&M and the average, money-savvy, customer. This isn't one of Isabel's first collaborations either. In the beginning of this year, she teamed up with Heritage Paris to design a fashionable skateboard for the vogue tomboys of the world.
 
This spring, Isabel Marant displayed a variety of fun summer prints, from white, beaded blouses to bold, embellished, red pants. I'm excited to see what she has in store for H&M (haha I'm so punny), as I hope all of you are!
 
See my post on the Jason Wu X Target collection here.
 
Shop Isabel Marant here. 
 
Shop H&M here.
 
Thanks for reading!
 

June 16, 2013

Weekly Favorites: June 9-June 15

Hey y'all! I'm don't have a southern accent but okay whatever. So today I'm going to share my favorite online finds with you from this past week.

Food:


Real Simple shared a collection of recipes to jazz up your basic egg breakfast. Don't these baked eggs look divine? Get the recipe for them here.


Inspirational Quote:
I found this quote on Tumblr and thought it was so true I had to post it on my Pintrest so others could see it!

 
Clothing:

I REALLY want one of these amazing CĂ©line Paris T-shirts. This picture is from here. You can buy them here. And you can even make them here!
 
Nature:
 
 I love evergreen forests so much and this summer I'm going to a sleep-away camp (for a month!) and it's filled with pine trees and hidden trails. Don't worry, I'll still post for you! I just want to build a log cabin (with snacks and wifi and books of course), and just hide forever. :) This picture is from here, and make sure to check out the rest of the pictures on Thomas' blog... because they're incredible.
 
Thanks so much for reading my weekly online favorites! Come back next Sunday to see more!


June 13, 2013

DIY: Dandelion Crowns


Hi lovelies! Today's post is on how to make these awesome dandelion crowns! There are so many dandelions right now where I live, and I remember making dandelion crowns as a child. I looked at a couple of tutorials on blogs and on YouTube, but those seemed super complicated. I tried sewing the dandelions together, but because of how thin the stems are, any stitch I used just ripped the stem to shreds. Getting desperate, I tuned to my trusty hot glue gun. I found some ribbon, and I just sorted of winged it! Here's how I did it:

Supplies:
•about 30-40 dandelions - I used 30 on mine, but it's better to have more in case one gets ruined or is too small. The bigger the better! 
•about 100 cm (40 in) white ribbon - I used plain white ribbon from the dollar store, but you can use any other color or pattern. If you use something like lace, though, just be careful that the glue doesn't go through and get stuck to your hair.
•scissors - regular kitchen scissors will work, just be sure to wash them before using them again
•hot glue gun - remember to turn it off once you're done!

Directions:
1. Gather your materials and prepare a workspace. Also plug in/turn on the glue gun at this time so it's nice and hot for gluing.
 
2. Cut your length of ribbon (enough to wrap around you head, and extra to tie the back), and select your dandelions. 

3. Taking the two ends between you thumb and forefinger, find the center of your ribbon. This is where you'll place the first dandelion. On either side measure and equal amount. I used about 45 cm (18 in) of ribbon for the actual dandelions, the rest was just to tie off the ends. 

 
4. Cut all of the stems off of the dandelions. Taking your scissors, cut just below the leaves around the base, any higher and all of the minuscule petals will be everywhere. Place the stems in a container for compost (or just throw them outside onto some grass). Try not to throw them away, though. 


5. It's gluing time! Begin gluing down your dandelions about 1/2 inch away from each other. Do it one at a time, and make sure to press down firmly on the back of the ribbon so that it stays. Continue this until you get your desired length.


6. Turn off your glue gun and you're done! Enjoy your dandelion crown!

I hope you enjoyed this short little tutorial on how to make a dandelion crown :) They don't last very long at all, mine only lasted about four-five hours, but it's still really fun. You can now easily channel your inner flower child or Narnian princess. I also made a bracelet and a ring by using these same steps. Thanks so much for reading!