
Today's post is a DIY on how to make the gorgeous fall garland you see above! It's made with leaves I found outside and gorgeous glitter. Keep reading to see how I made this garland!
I found a tutorial to make it here. In their post, they said they used faux leaves from the dollar stores, but since I'm crafty and such, I just picked up some leaves that had fallen on the ground around my house! I used sugar maple leaves, and some other little ones. I concluded that the sugar maple ones worked better, and always go bigger. Bigger is better, people.
materials

you're going to need:
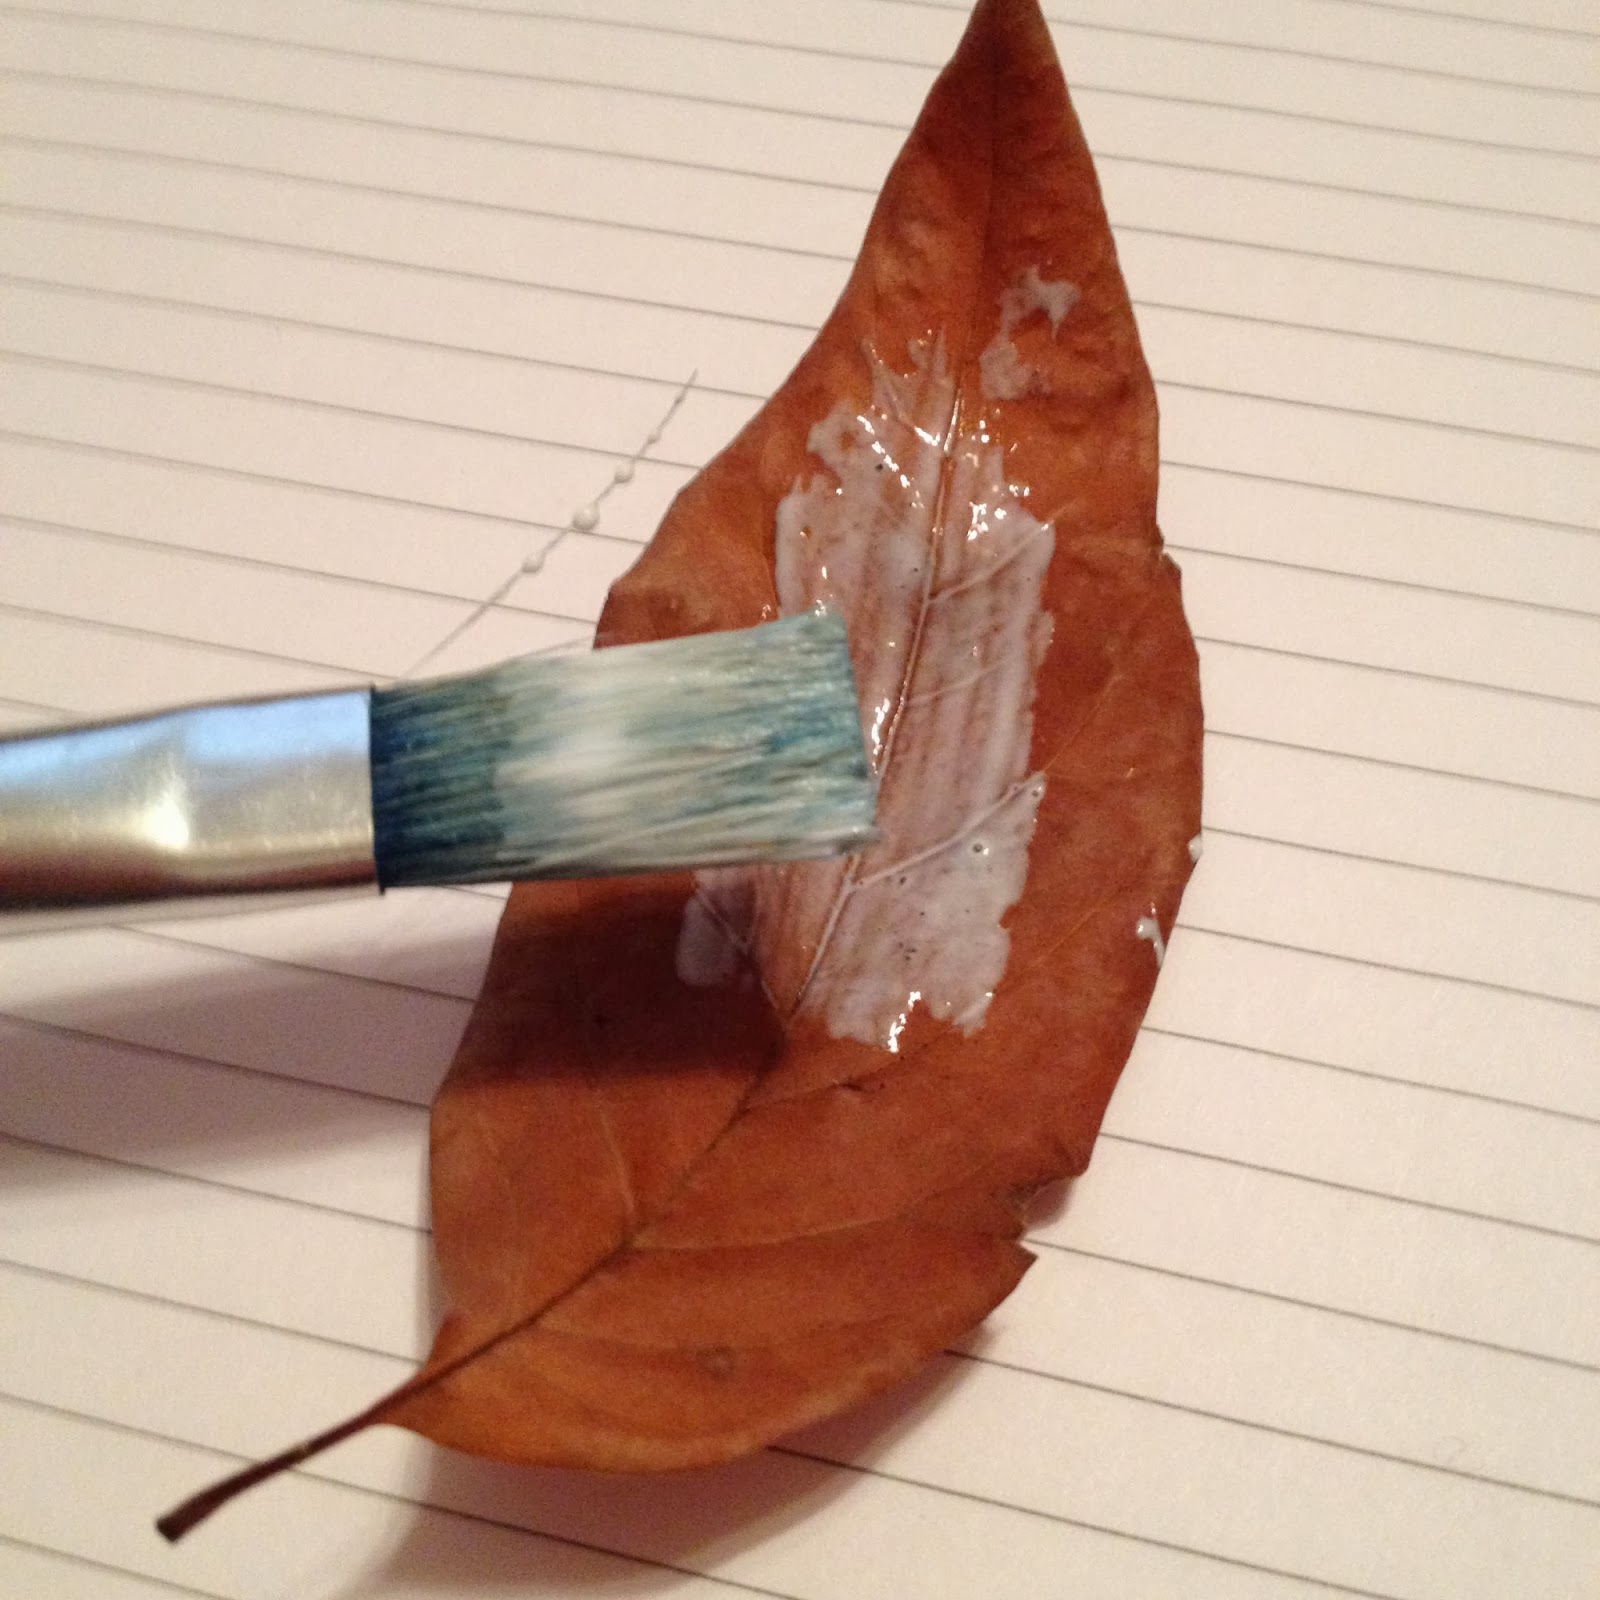
making sure you have some sort of working surface underneath, begin painting a light layer of glue on to your leaf. I used Modge Podge, but Tacky Glue will also work. You want to make sure that all of the glitter will stick onto your leaf and not fall off.

I started applying glitter with a brush, but since that took too long, I just ended up using my fingers. Be sure that you cover the entire leaf, and shake off the excess glitter.

this next step is optional, but I definitely recommend it. I used the Rust-Oleum Crystal Clear Enamel, which I'm not exactly sure it's the right thing to have used, but oh well, it worked.
.JPG)
when your leaves are completely dry, even a little stiff, you can now cut off the stems and throw them away. Then take your hole punch and punch a hole about 1/2 a centimeter lower than where the stem would be. Then take a length of thread or ribbon and fold it in half. Tie the two ends into a knot, which you a later attach to your garland. If you want the leaves to hang at different levels, you should measure your thread lengths accordingly.
.JPG)
for the piece that hold your garland together, cut a piece of either thread or ribbon about 2-3 feet long, depending on how many leaves you have. Then you can tie your leaves with their thread on to the longer piece. Try to evenly spread your leaves along the string so that the leaves aren't squished.
and now your adorable & glitzy fall garland is done!
I hope you liked reading on how to make this DIY. If you want to see more, let me know in a comment! I also want to make a pinecone garland sometime soon. If I do, I will most definitely make a post on it. Until then, you can buy one here.
No comments:
Post a Comment